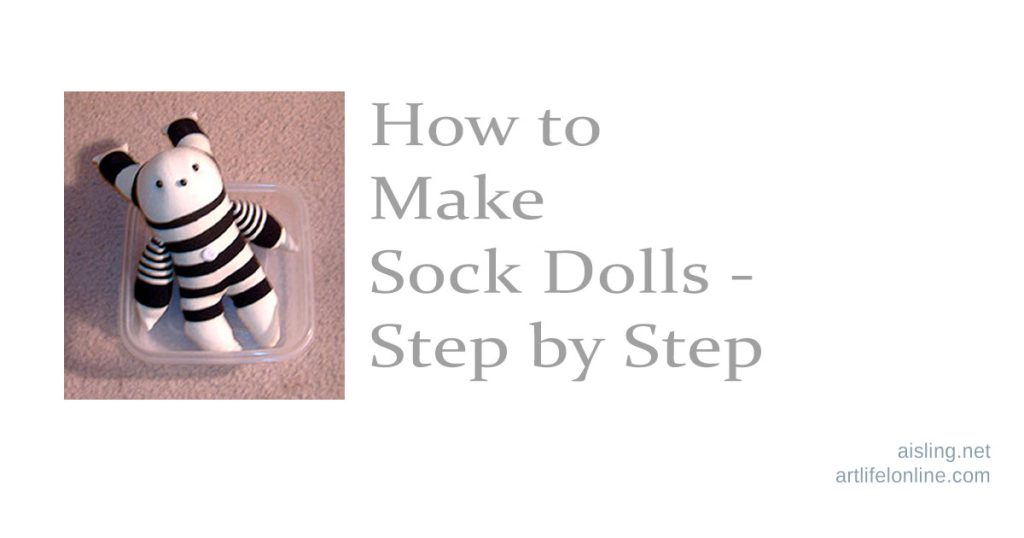
Updating this website, I stumbled upon these doll patterns, and decided to make them available again.
All of these patterns are free to print and use.
But… these are OLD patterns from ~15 or more years ago, designed to print on 8.5″ x 11″ paper, but at a very low resolution. (I’m working on improving them, right now.)
As usual, these are free patterns for personal use. (You CAN make dolls from them, and then sell those dolls. It’s just the patterns that are for personal use, meaning that you can’t put your name on the patterns and sell them.)
If you would like to feature these patterns on your own website, you MUST include my copyright with the patterns. (In other words, be considerate. Please don’t remove my copyright and claim you created the patterns, yourself.)
If you’d like to reproduce these patterns for a class or workshop, that’s fine as long as the copyright remains on them, and you don’t charge anything extra for the patterns.
These patterns moved here from my (former) Wild Art Dolls website. If any links don’t seem to work, let me know in a comment, below. Thanks!
Here are the patterns & links.If any of the links don’t work for you, leave a comment and let me know.
Belle de Lautrec and her zany sister, Tallulah Lautrec were created for a swap/round robin at the Yahoo group, Doll Journals.
Each of the next two patterns open in a new window.
Neither of them have sewing instructions, yet.
Right-click on the link to save the pattern to your hard drive, for use later, or click the link and print from the screen.
Dangerous Women – a free, online doll pattern Print it from your screen, and/or enlarge the pattern so the “one inch” line really is one inch. The doll shown in this post’s header (above) is made from this pattern. (I later added optional wings.)
Last year, I began making sock dolls. I was inspired by the book Stray Sock Sewing.
Here’s how I made my sock dolls for the Wild Art Dolls swap in July 2010.
Sock Doll Supplies
You will need one sock, some batting or stuffing, Fray-Check, and your basic sewing supplies. (Needle, thread, scissors, and a thimble if you use one.) You’ll also want something for eyes, nose, and other embellishments. At the very least, that will be embroidery thread, yarn, or a contrasting color of regular thread.
Sock Doll Directions
This is the sock I started with.
First, I started with a large, children’s sock. I’d already washed it in the laundry so, if it was going to shrink, it had already done so. (If the sock dolly needs a bath later, we don’t have to worry about him or her shrinking, puckering, or losing color.)
You should do the same.
Then, stretch it out so the heel is exactly centered, horizontally. Then, the finished doll won’t look too off-center.
Arrange the sock so the heel is centered.
Next, you’ll cut off the toe part of the sock. You’ll be removing somewhere between 1/2 and 1/3 of the sock above the heel. That will vary with the size of the sock and your plans for the doll.
Remove the toe part of the sock, and a little extra.
If you remove a smaller amount, the doll will have longer ears and shorter arms. If you remove more, there will be shorter ears and longer arms.
Remember: If something goes terribly wrong, you still have another sock. You can use that to supplement the pieces you cut from this sock, or you can start all over again.
The next step is to cut the cuff of the sock, perpendicular to the cuff. What you’re doing is cutting the seam area for the legs. For shorter legs, leave more uncut. For long legs, cut closer to the heel.
Above all — unless you have an octopus kind of doll in mind — don’t cut all the way up to the heel.
Starting at the cuff of the sock, cut both layers up the middle.
The next step is to cut a notch where the ears will extend. Once again, the deeper the cut, the longer the ears. Avoid cutting all the way down to the heel, unless you want a really deranged-looking doll with a strange, short face.
Cut a rectangle or square out of the remaining area where the toe was.
Finally, you’re going to use the toe part that you cut off at the beginning. Lay it flat and snip in into two equal parts. These will be the arms.
Cut the toe part in half – just one snip – to make the arms.
Now, it’s time to seal the edges of the sock so they don’t unravel as you’re working. You’ll use a product called Fray-Check for that. You can find it in many sewing supply stores, crafts stores like Michael’s, or order it from Amazon.com.
If you’re making a lot of sock dolls (like for holiday gifts), pick up a couple of bottles of Fray-Check. You will go through it pretty quickly. (Plus that, it can dry out in the bottle, after a few months.)
You’ll need Fray-Check, a product by Dritz.
Apply a moderate amount of Fray Check to every raw edge on the doll. Be especially generous where there are angles, indicated by the blue arrows. Those points will get the most stress as the doll is being finished.
Apply Fray-Check to all raw edges. (Remember the arm pieces, too.)
Let the Fray-Check dry completely. This can take an hour or two. Don’t sew while the fabric is damp, or it can stretch and bubble.
Next, sew the top of the head. That’s where you cut the rectangle out, and it’s on the right side of the sock in the photo above.
Sew the ears and the top of the head.
Sometimes I sew along the wrong side of the fabric, and then turn the doll right-side out. At other times, I sew the whole thing from the outside, using an overcast-type stitch.
Then, turn the doll right-side out, so you can start stuffing it.
Next, Add Stuffing to Your Sock Dolls
When adding stuffing to your cloth doll, it should be packed firm.
Don’t over-stretch the sewn edges as you do this, but make sure your cloth doll won’t look all saggy after its been hugged a lot.
For sock dolls, you’ll probably start from the bottom, or wherever the open seams are.
Stuff the doll from the bottom.
When you’re stuffing the ears, it’s a good idea to make them fairly solid. I use a chopstick or a stuffing tool for this purpose.
If the ears are really long, you may want to insert a wire after the ears are stuffed. You can use a pipe cleaner or any firm but flexible wire for this. Then, you can bend the ears in zany angles.
Sewing the Legs
Now, you’re ready to sew the legs, stuff them, and then sew the edges of the feet.
When your doll looks like this, you’re ready to work on the legs.
Sew the leg seams, but not the feet. Stuff the legs. (A chopstick, smooth end of a pencil, or stuffing tool is ideal.)
Finally, when the doll is how you want it to look, stitch along the bottom edges of the feet.
Add Embellishments to Your Sock Doll
At this point, I like to add the beads or buttons for eyes, and a nose. I usually use embroidery floss for the nose.
The doll is beginning to have character. I think that’s important, before attaching the arms. Arms can make a remarkable difference in the attitude of the doll.
Ready for the arms!
Add the Arms
For the arms, you’ll sew the seams on the toe pieces you cut at the beginning.
Sew just the longest side of each one and stuff it. Depending on how hard it is to hold the shoulder part together, you may want to baste it closed after the arms are fully stuffed.
If they’re only loosely stuffed, you can skip the basting step and attach the arms directly to the doll.
Add More Embellishments, Maybe
After that, you can add wings, hair, a pom-pom tail, or any other embellishments you like.
The completed doll!
More Examples
Here are a couple of other sock dolls I’ve made. They were propped up in Rubbermaid sandwich containers, so you can see them better. That also gives you an idea of the scale of them.
Here’s the same doll in profile. He has a yarn pom-pom tail.
Another doll, shown below, is made from an adult’s pink sock. The top of the head looks like the doll is wearing a cap. I made the cap from a second, different pink sock. I let the lower edges roll up, like the brim of a knit cap.
I also embroidered a heart on her, and gave her faerie wings.
Doll in profile.
Once you get used to making these dolls, you’ll find ways to mix n’ match pieces from different socks for different effects.
I can usually make one doll in an evening (about three or four hours), while I’m watching TV or talking with my family.
Sock Doll Tips
Sock dolly helps in the kitchen!
Use children’s socks for the best colors and patterns. For larger, colorful socks, I find good patterns & prices at places like TJ Maxx, especially in their sale sections. Want tiny socks for the dolls or for ears, arms, or a tail? Check the discount section of Michael’s Arts & Crafts. Some of their Mary Engelbreit-type socks can be wonderful for sock dolls!
Use Fray-Checkby Dritz. Amazon carries it, or find it at Michael’s, JoAnn Fabric, etc. I seal all edges before I sew them. (Usually, it takes a couple of hours for the Fray-Check to dry thoroughly. If you sew the edges while the Fray-Check is damp, the fabric can stretch too much.)
If your doll might get soiled easily, use any waterproofing spray on stain-resisting spray, after you complete the sewing but before you add any beads or buttons.
If you’re making a doll that you’ll turn inside-out, after sewing, always try to make the final seam (the one you’ll sew on the outside) where the doll sits down. That way, the seam isn’t so noticeable.
If your doll should sit and not fall over easily, make a small bean bag that will fit inside the “rear end” of the doll. Fill that bean bag with something heavy. I use anything like poly-pellets, or well-rinsed gravel intended for fish tanks, or even unscented kitty litter. (The latter, being clay, can deteriorate and turn to messy dust if handled too often.)
If your dolls are small enough, check the dollhouse furnishings aisle (at Michael’s, etc.) for accessories you can use with (or glue to) your sock dolls.
Manage Cookie Consent
We use cookies to optimize our website and our service.
Functional
Always active
The technical storage or access is strictly necessary for the legitimate purpose of enabling the use of a specific service explicitly requested by the subscriber or user, or for the sole purpose of carrying out the transmission of a communication over an electronic communications network.
Preferences
The technical storage or access is necessary for the legitimate purpose of storing preferences that are not requested by the subscriber or user.
Statistics
The technical storage or access that is used exclusively for statistical purposes.The technical storage or access that is used exclusively for anonymous statistical purposes. Without a subpoena, voluntary compliance on the part of your Internet Service Provider, or additional records from a third party, information stored or retrieved for this purpose alone cannot usually be used to identify you.
Marketing
The technical storage or access is required to create user profiles to send advertising, or to track the user on a website or across several websites for similar marketing purposes.