You can make a small shrine using a Pringle’s potato chip lid. Here are some general instructions to create the base for the shrine.
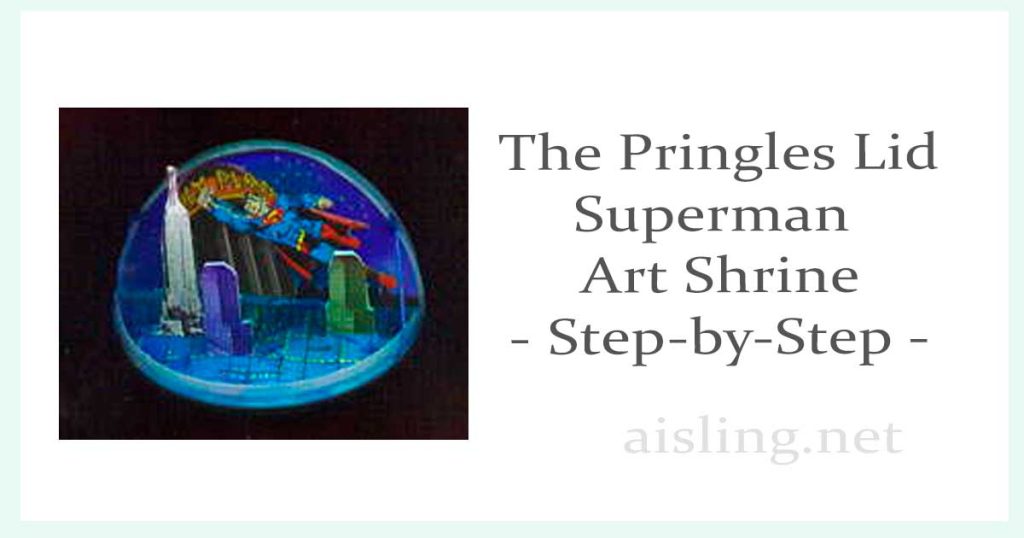
It was created using very small artwork—some of it original—and a Pringle’s potato chip lid. You know, one of those clear plastic snap-on lids that allows you to reseal the container.
First, I washed it with dishwashing liquid to remove all grease from it. Then, I cut a notch in each side, so it could fold.
But, even if I scored it along the fold line, the lid wouldn’t stay folded at a right angle.

Plastic—such as this potato chip lid—has a “memory,” which means that it likes to return to the same shape it was made into at the factory.
In this case, the Pringle’s lid wants to snap back into a flat position. For the shrine to look right, it must be fastened at a 90-degree right angle.
My solution was to use my Fiskars 1/16″ punch.
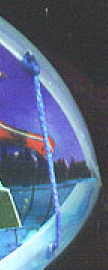
I put four holes in the rim of the Pringle’s lid: two on the upright part of the shrine (one hole on each side) and two on the flat part of the shrine (also in the rim, one hole on each side, right and left).
Then, I used embroidery floss and an embroidery needle. I knotted the thread as if I were sewing and pushed the needle and thread through the hole on the bottom/flat side of the shrine. (The hole is actually in the rim, but it’s on the half of the lid/shrine that rests on the table.)
I sewed this from the inside so the knot is hidden under the rim of the lid.
Then, I put the needle and thread through the corresponding hole on the top/upright side of the shrine. It’s less important whether you go from the inside out or vice versa.
Either way, I went through the hole twice, knotted the thread, and left a good tail on it when I cut it.
Then I put a dab of glue (Perfect Paper Adhesive, but white glue will probably work fine) on the tail of the thread, and tucked it inside the rim of the lid/shrine.
I repeated this process on the other side of the shrine.
I know… this may be impossible to understand without a bazillion diagrams.
If none of this makes sense to you, experiment. You’ll probably come up with an even better design!
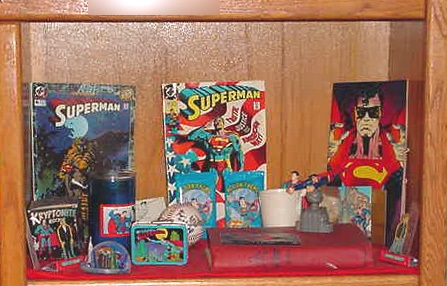
Here’s how the finished Superman shrine was displayed in our home. The pocket shrine is near the lower left corner of the photo.

Amazon and the Amazon logo are trademarks of Amazon.com, Inc, or its affiliates. As an Amazon Associate, I earn from qualifying purchases.

