Embellishments for Mystery & Dazzle

Plaster gauze is ideal for embellishing your art shrines and assemblages. Add gold foil, gold leaf, glitter, beads, vintage jewelry, crystals, or other features, and your art can really stand out!

Plaster Gauze

To learn the basics of using plaster gauze (or plaster plus gauze… generally the same product), see:

When using plaster-embedded gauze, you can create fabulous textural effects with common household and art objects.

Among my favorites are soft drink bottlecaps. Place one with the open side up, and drape the wet gauze over it. Press it around the shape, inside the cap, and leave enough gauze around the bottlecap to hold it in place on the shrine.

After it dries and you’ve painted the shrine, flat-bottomed glass beads and stones fit perfectly, one in each bottlecap. (My current package of those beads is labelled “Glass Decorative Gems.”  They’re inexpensive and available at arts and crafts stores, budget import shops, and—of course—at Amazon.com.)

Here’s how it looks when finished:

bead in a bottlecap embellished shrine

However, you can use other supports for the gauze.

One of my favorites is a Pringle’s potato chip can lid. This creates a circular area with a lip that is perfect for putting the focus on an inset image, such as a religious icon, or small embellishments such as a rusty lock, etc.

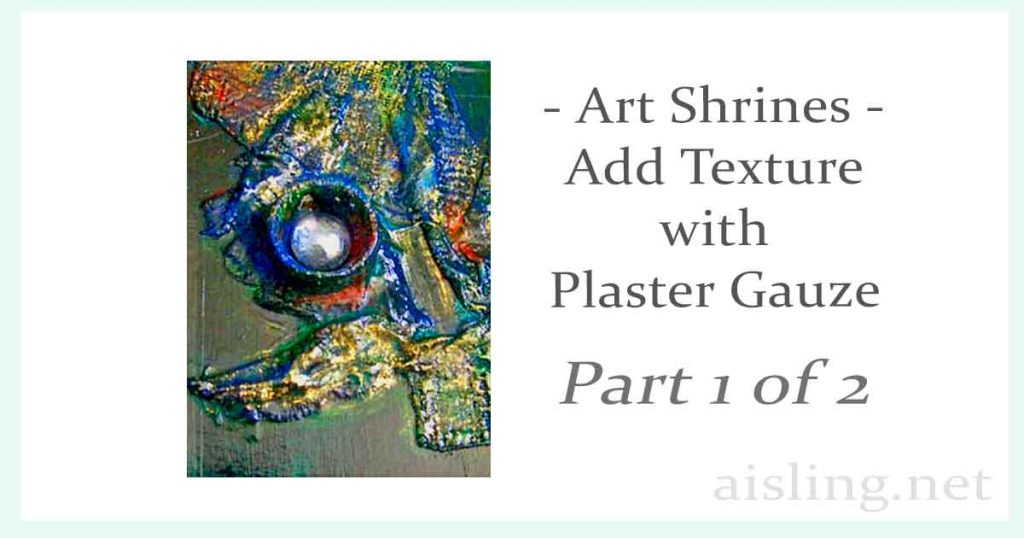
I used a Pringle’s lid for the shrine at the top of this page.

You can also drape the gauze over wooden shapes such as stars, moons, a Celtic cross, numbers, letters, and so on.  Check arts & crafts stores for inexpensive wooden cut-outs that will add interest to your shrine.

You might want an eerie effect, draping it over a doll’s face, similar to the “mummies” that were popular in art a few years ago.

There are an endless number of textured and dimensional objects to try under gauze. Check your toolbox, trash, or even your drawer of kitchen tools for ideas.

Remember two things:

  • This gauze sticks to anything, including Altoid tins.
  • And be sure to drape enough of it around the applied object so that it is held in place when the gauze dries.

Other Materials (like Pringle’s Lids)

Simple textures can be fun, but they can quickly bore the viewer. You may need to add additional materials and supports to create interest.

In this shrine, in addition to the Pringle’s lid support, I added a rusty lock (adhered with hot glue), a scrap of a vintage book page, plus several colors of acrylic paint, some of them metallic. And so on.

If you visit some antiques stores and flea markets, you’ll find wonderful items, often low-priced. The rusty lock and vintage papers I used here came from a flea market. Neither cost more than $5.

Here’s a close-up of the finished art, so you can see it better. (The original photo was from long ago, reduced for Internet limits back then, and I don’t have the larger version. So, this is a bit pixelated.)

Pringles Lid and Rusty Lock - on a cigar box assemblage

Art Shrines – Add Texture with Plaster Gauze – Part 2 of 2

This is page two of the instructions that started at Art Shrines – Add Texture with Plaster Gauze.

Plaster and gauze – the same materials used in medical settings for traditional plaster casts – can add excitement and dimension to your art shrines and assemblages.

5. Dip gauze all the way into the water, and remove it quickly.

The longer it sits in the water, the more plaster washes off the gauze, and the less rigid the final results.

Also, it’s not necessary to squeeze water out of the gauze. In fact, if you squeeze the water out, you may also lose some of the plaster.

6. Drape the wet gauze directly onto the surface that you’re embellishing.

Once it is in place, you can flatten it if you want less texture; otherwise, just leave it where it is.


In this photo, the cigar box had been gessoed before embellishing. You can gesso afterward if you prefer. It doesn’t make much difference in most cases.

This gauze will stick to untreated Altoid tins, without gesso and without removing the paint first.

If it starts to lift up after the gauze dries, the paint and sealer usually act as glue to reattach the gauze.

7. To vary the texture of the gauze…

You can smooth parts of it with your fingers, gently spreading the plaster so that it fills some of the holes in the gauze.

I like to smooth no more than 50% of the gauze in my art.

The holes will catch the paint later, making your finished piece look even more ancient and mysterious.

8. As soon as that piece looks good, leave it alone.

Repeat with another piece of gauze, adding more layers or areas of texture to your surface.

The gauze sticks to itself best when wet. Try to apply all of the gauze in one sitting.

9. Impatient? Speed the drying time by heating the gauze.

You can speed drying time with heat from a tool like an embossing gun. However, be sure not to scorch it.

In some cases, the painted surface of the object may bubble or melt under the extreme heat of the embossing gun. Use it cautiously, if you use it at all.

Heating is not necessary.

Even if with extensive use of the embossing gun, you should still wait at least an hour or two before painting the gauze.

In general, it’s good to let the gauze dry overnight rather than rush it with heat.

It’s not necessary to cover the entire surface with gauze. In fact, I recommend leaving part of it untreated.

Let each surface dry to the touch before moving the box to embellish another side.

Wet gauze can slide off the box if it is tilted too soon.

A mix of smooth and rough areas on the gauze will result in a more interesting and varied painted surface when the embellishment is complete.

10. Seal the gauze with gesso.

For best results, cover the gauze with at least one coat of gesso before painting it.

Be sure that the gauze is fully dry before applying the gesso, or the gesso can seal the moisture inside the fabric.

11. When the gesso is dry, apply paint and other embellishments.

Plan to paint your art shrine – or other mixed-media piece – in layers. Let each early layer dry fully. Those layers will form a further seal that prevents the gauze from absorbing moisture.

Here’s what one of my cigar boxes looked like, ready to paint.

Here’s what it looked like with two layers of paint. First, I applied gold paint and let it dry thoroughly. Then, I added a light coat of blue in some areas, and a heavier layer of blue on one side.

Then, when those layers had fully dried, I started getting wild with color. Generally, I’d paint some color on, and then wipe some (or most) of it off.

This shrine had about five or six layers of paint, each a different color.

Sometimes I’d wait for the color to dry. At other times, I’d work a new color into the still-wet pigment.  Then, I’d add another color, doing the same thing.

At the conclusion, I added some further embellishments. They included a deep bottle cap. I think it was from laundry detergent, and I covered it with plaster gauze, too. The final touch was a smooth glass gem, which I think had been a playing piece from a board game.

And here’s another cigar box art shrine, treated similarly. The round shape was a plastic lid* from a Pringles potato chip container.

I hope those give you some ideas for your own mixed media artwork using plaster gauze.

*Trivia: Those snap-on lids – like the ones on Pringles chips – were originally created to seal cans of house paint.

However, house painters didn’t warm to that idea, so the patent was sold… I think it went to a coffee company, next.

(The original idea was my grandfather’s. He was the founder of the California Paints, which later expanded to include California Products.)

Art Shrines – Add Texture with Plaster Gauze – Part 1 of 2

Plaster gauze can add exciting dimensions to your art shrines, mixed media art, or even your art journaling book covers.

The effects are completely unlike a “plaster cast.”

Here’s what a finished product can look like. (It started as a cardboard cigar box. You can buy them at Amazon, and some cigar stores sell them at a good, low price. Compare prices!)


Art Shrine Supplies

To embellish your art shrines and other mixed media art, you’ll use plaster-embedded gauze.

Years ago, doctors used it for casts on broken limbs. Vets still use it sometimes. You can buy it as an art supply, from a medical supply house, or through your veterinarian. Some DIY home improvement stores sell it, too.

Amazon offers several brands, including CraftWrap.

Plaster gauze


You’ll also need the surface that you plan to embellish, a cup or bowl of water, and household scissors.

From the start, you may also want to include optional surface embellishments. (See “Embellishments for mystery and dazzle.”)

1. Open the package and unroll some of the gauze.

Usually, plaster gauze is packaged in a plastic bag. That’s because it can be really dusty, and difficult to clean up.

Work over discarded newsprint, such as a newspaper or sheets of ads – “junk mail” – you receive by post.

That’s important. Otherwise, your worktable will be covered with a fine plaster powder. And, if you’re like me, you’ll be sneezing. A lot.

2. Cut with inexpensive household scissors.

Use inexpensive scissors to cut the gauze. (Shears of any kind from the dollar store – or pound store – will work fine.) The plaster will dull your scissor blades, and might ruin a good pair of scissors.

After working with the gauze, I usually cut through fine sandpaper to resharpen the scissor blades. That’s worked well.

3. Trim the gauze into irregular shapes.

This isn’t mandatory, but – from my experience – it helps… a lot.

My largest pieces are usually about two inches on the widest edge, and my smallest pieces are about 3/4 inch on the narrowest edge. When you try this technique, start with at least six pieces.

It helps to cut all of your pieces before getting your hands wet.

4. Dunk one piece of the gauze into a cup or bowl of water.

When you start your work, be sure to have a bowl of water close to the support (such as a cigar box shrine) you’re embellishing.

The water temperature does not matter, and you only need enough water to cover the gauze completely.

For the rest of the instructions, click here for Part 2.

Eerie, Elegant Rubbings with Art Foil (Halloween Project)

You can create elegant rubbings for your art journaling, mixed media art, or decor.

You can use rubbings from almost any textured surface, and featuring almost any theme. However, the textured item should be made of metal or a material that can withstand pressure without damaging it.

For example, you might do rubbings using metal coins, or keys. You could use automobile emblems, carved elements on furnishings, street signs, survey markers, jewelry, awards, trophies, or… well, almost anything with an interesting texture.

The following examples include rubbings from my “Art Shrines from Dark to Light” workshops, especially the Halloween-themed one I taught in Houston, Texas in 2005.

NOTE: My students did NOT do rubbings on actual gravestones. (In many communities, it’s illegal to use gravestones for rubbings. Too much abrasion could damage the stones.)

I had – with permission – created modeling clay impressions from very old headstones (1700s and early 1800s), using a technique that did not involve direct contact between the clay and the headstones, and did not risk damage to the stones.

That’s what my students used, for their Halloween-themed collages and assemblages.

You’ll start with metallic foil transfer paper, intended to look like gold leaf (or copper leaf, silver leaf, etc.).

Foil transfer papers are used for interior decorating. They’re sold in small amounts as “Renaissance Foil,” which is sold at Amazon, Michael’s, etc. (You can also use Speedball foil, which is nearly as good.)

The following tips should help you use the foil papers effectively. (These photos are from around 2005, when Internet connections were slow, and images had to be small. I’ll try to make time to enlarge them digitally, in the future.)


Above: Rubbings on lightly-gesso’d black tissue paper. Left to right: a religious medal, a casting from an early 19th-century grave marker, and an MBTA subway token.

Supplies

You will need paper or fabric for your rubbings.

  • If you’re using fabric, it should be very thin such as a lightweight muslin.
  • If you’re using paper, it should not be stiff. Regular printer paper is fine, and tissue paper works well, too, if you handle it carefully.
  • You’ll need gesso, painting medium (gel or liquid), or acrylic paint and water. (I prefer gesso for a less-smooth surface.
  • You’ll need a brush to apply the gesso, medium, or paint. An inexpensive sponge brush is fine.
  • You’ll also need a textured surface as the subject of your rubbing, and a hard rubbing tool, such as the side of a pencil or a stylus.
  • And – of course – you’ll need a gold foil product, as mentioned above.

Step-by-Step

1. Paint your paper or fabric surface with gesso, painting medium, or acrylic paint. A thin coat is enough, as long as the surface – where you’ll be rubbing – is fully and evenly covered.

Black gesso

At right, I was using regular white printer paper, treated with black gesso.

If you use acrylic paint, thin it with water or painting medium. Paint can thicken the paper and prevent you from being able to highlight as many details.

2. When the prepared surface is fully dry, layer your supplies:

First, place the subject of the rubbing on the bottom.

Then, place your prepared paper or fabric over it. On top, place a piece of transfer foil, shiny side up.

(In the illustration, they’re angled to show the layers. During the actual rubbing process, each layer is centered over the one below it.)

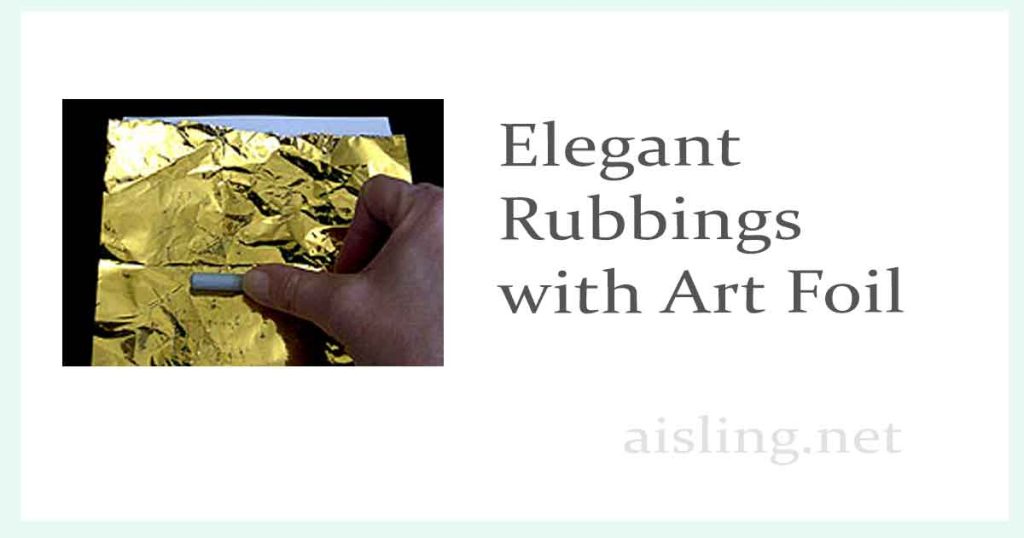
3. With the rubbing tool (I’m using the side of a pencil in the photo), rub firmly all over the area where you expect a design to appear. You’ll probably need to rub more than you expect to.

If you lift the foil to see how it’s working, be very certain not to move the paper from its position atop the subject/rubbing surface.

You can move the foil, but if you move the paper your image can be distorted or blurred.

Continue rubbing until the image has transferred to the paper or fabric.

Save the foil. You can use it several times before all of the gold has worn off.

That’s all! Now, you have a rubbing to use as your art.

Asparagus Wand

The Asparagus Wand was created for Sukie’s “Fairy Wand Exchange,” in July 2001. I made four of them to add to the wands already being sent by my daughter – who’d adopted the name “Applefaerie” – and me.

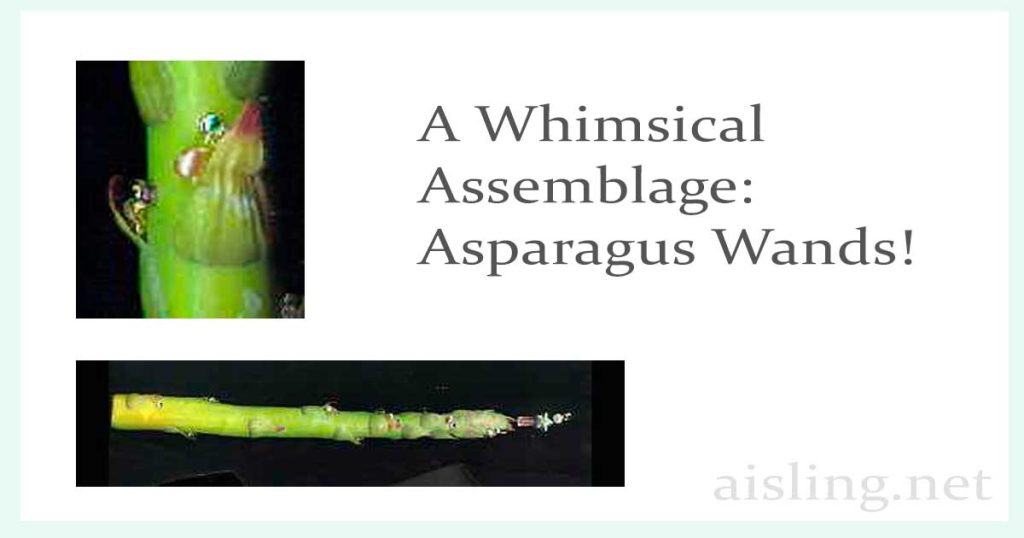
The Asparagus Wand is shown below.

aspara-1side

It started in Michael’s Arts & Crafts store, where my daughter and I were wandering the aisles looking for ideas.

When I saw the plastic asparagus, it struck me funny. It also made me think, “Hmm, what about a jewel-encrusted asparagus in the hand of an elegant faerie?”

Hmm…

It also reminded me of one of our favorite—but retired—Disney World attractions, Kitchen Kabaret, which used to be downstairs at EPCOT’s attraction, The Land.

(We still have moments of singing, “Veggie, veggie, fruit-fruit!” See the video lower in this post.)

So, when Applefaerie’s schedule prevented her from completing all six of her wands for the exchange, I had a good excuse to embellish the asparagus.

The completed wands are rather simple, with just a few beads emerging from between the petals on the stalk. Most petals are embellished.

asparawand-closeup
Close-up: Beads and pearls in the asparagus petals

All of the beads are an iridescent peach color, with golden and greenish highlights. The pearls are freshwater, peach-colored pearls, as well as some white faux pearls.

Each wand is slightly different. However, each has a 20-gauge gold-toned wire at the top that holds a star bead, and one or two other beads in place with a curled wire top.

My vision included fresh asparagus stalks in the fields in spring, with their jewels just beginning to peek out between the petals.

By harvest, these wands would be heavy with opulent jewels, as if from the Tower of London exhibit.

However, during the lighter, just-starting-to-grow phase, these asparagus are perfect for the faeries to use as magick wands.

It was an amusing fantasy and an equally fun project. I love remembering it!

Rainbow colors divider

And, for those who fondly remember “Veggie, Veggie, Fruit, Fruit” in Epcot’s Kitchen Kabaret show, here’s the video:

Capolan exchange: Relic Room Assemblage

This is an Altoid tin shrine created for a 2000 Capolan exchange, and titled the Relic Room Assemblage.

5boxgif
The outside of the box:
Altoid tin, secured with an antique button, and hemp twine with beads.

Preparing the Altoid tin:

First, I hammered it to age it. Then I sprayed it with a cream-colored epoxy paint, intended for use on large appliances. Finally, I sprayed the tin with copper and gold spray paints, to create a spattered effect.

The closure: I hammered two holes in the cover with an awl, and tied an antique button to the top. The button is used to hold the tin closed. The tin is secured with hemp twine, on which I strung wooden beads, glass beads, and a semi-precious stone.

Inside the tin: (Numbers are keyed to the illustration.)

5inside

1. On the bottom inside of the tin, I glued text from an old snake oil (patent medicine) magazine.

2. Inside the lid, I glued red paper, plus (real) antique stamps. I rubber stamped it, too. The hemp twine which secures the antique button on top, is tied inside the tin, so the knot shows here.

3. A card describing the owner of the tin, with his photo. The 19th-century photo actually shows one of my Irish ancestors, James “Jamie” Cronin.

The card says:

    This box and its contents were found in the jacket pocket of Dr. James Cronin, late of Kilmallock, Co. Limerick, Ireland.altoidcardDr. Cronin was an amateur anthropologist and student of the Tuathai. He had formed a unique thesis regarding the juxtaposition of Christian and metaphysical icons, in relation to miracles.

    Dr. Cronin’s next destination was Hy-Breasail, where he planned to test his theory about the number five representing perfect stasis and change in the Tarot.

4. Each box contains a small brass monkey. It’s a reference to the golden era of “adventure” fiction, including Arthur Conan Doyle, Edgar Rice Burroughs, and so on.

5. Part of a playing card from a fortune-telling deck. It’s aged (sandpaper and folding), smudged with gold leaf, and punched with the number 5, using an antique check-writing punch.

6. Each box has at least one actual bit of currency from an exotic country.

7. Matchbox, covered with reproduction newspaper from Harper’s Weekly during the Civil War. It’s stamped with the number 5 from a clock stamp set. I aged the paper with coffee.

8. Each box has a slightly different content, but each one contains an antique strip of paper on which I stamped “I will grant you three wishes.” The boxes also contain fetish items, including (sometimes) an animal figurine of wood or quartz, and/or a small golden ring.

9. On fabric, I transferred the image of St. Jude, patron saint of lost causes. The miracles of St. Jude are tremendous. On the reverse side, I transferred a cryptic mix of images, including a dark photo of Disney’s Haunted Mansion being struck by lightning, plus a scan of a Tarot card, The Tower, from a deck called The Vision Tarot.

stjudesmtowersm

I made a total of four of these tins for the Capolan/Relic Room exchange, in July 2000. (I made a fifth one, for myself.)

Easy Embellished Vinyl Tote Bag

These are notes from my popular Artfest 2001 workshop about using images and word art to embellish purses and tote bags.

vinyltote
sample collaged vinyl totebag made on the airplane en route Artfest 2001

Supply list

  • Vinyl bag with at least one transparent side.
  • Plain white paper as your collage support
  • Collage elements – flat (or nearly flat) items and images
  • Some kind of paper adhesive
  • Clear laminating plastic, clear 2″ wide packing tape, or clear adhesive-backed shelf paper
  • Optional: beads and cord or floss, or small dimensional embellishments (see directions for ideas).

Guidelines (not instructions – this is your bag!)

First, select a vinyl bag. (My sample came from Michael’s Arts & Crafts store. In 2001, they were $1.99 each.  In 2009, they’re still under $5 if you shop carefully.  Sometimes, you can even find them at pound or dollar stores.)

Use a plain sheet of paper for your collage base/support. Otherwise, the back of your work will show through the other side of the vinyl bag.

Create a collage using modpodge, gluestick, gloss medium or other adhesives.  As long as it doesn’t pucker the paper, almost any glue will work.

You can use charms, trinkets & raised elements, but they don’t stick well. Sorry. Hang them from the bag, instead.

If you like, you can create two collages, one to go on top of the vinyl, and one to show through from the inside.

You can even cut the vinyl so the inside one shows through better.

totemid
central collage on workshop sample bag

Cut your laminating plastic to size. Trim closely, but allow at least a half inch around your collage, so the plastic will stick.

    • I use shiny laminating plastic sold on a roll at A. C. Moore. A similar product at Michael’s is often matte, like Contac paper. I like the shiny stuff. Sometimes, you can find this at Staples or an office supply shop. You can also use 2″ wide packing tape, or any clear adhesive product that suits your mood and artistic vision.
toteartlogo
Artfest logo, colored with oil pastels on the workshop sample tote

Next, place your collage, face down, on the laminating plastic. When you pick up the laminating plastic, the non-sticky side and the collage should be facing you.

Stick the plastic-covered collage onto an appropriate place on the bag.

Embellishment ideas

IF you like: Punch holes in the vinyl using a 1/8″ punch. Add tiny grommets/eyelets using the tool, hammer, and wood block. Tap lightly!

totewords
words on foam board strung from grommets at top of totebag

– String evidence or charms/trinkets from ribbon or thread, tied so they hang through the grommet/eyelets.

If you’d like… attach more “evidence” (a term we used to reference journaling-type additions) at the bottom edge of the bag. Grommets are not required here if you’re sewing something the width of the bag. Just go ahead and sew through the vinyl. If it rips later, use clear packing tape to repair it.

– You may want to replace the handles with something better. For example, a strong measuring tape may make a great handle, or you could use braided ribbons, or…?

– Use your tote, accept compliments, and make fresh tote bags regularly since these are easy, inexpensive, and fun!

Rust and Teal Pieced Bodice

This is another project started in the mid-1990s and not completed.  Clearly, even good projects are sometimes put aside.

rstjmp

Basically, I was going to make myself a bunch of great wearable art pinafores.

Note: In the States, a pinafore is called a jumper. I grew up calling them pinafores, because… well, that’s what my family called them.

But, I ran out of enthusiasm when I went through a time of equating pinafores with ‘tasteful floral print dresses’ and tossed out every one of those sewing patterns.

At times, I’m impulsive like that.   (Yes, it’s frustrating at times.)

So, this project was never completed.

Before I ran out of steam, I had strip pieced the front bodice shown above. It’s beaded by hand, and also embellished with some ‘crazy quilt’ stitching.

A lot of my fabric art embellishments have been inspired by the stitches on crazy quilts. I rely on Judith Baker Montano’s book, Elegant Stitches, shown in the right column. I’ve used her fabric art as references ever since I bought a copy of her hand-drawn notes that she’d photocopied to sell at quilt fairs in the 1970s.

I like to mix easy strip piecing with quirky color combinations, crazy quilt stitching, and glass beads… especially bugle beads and small seed beads.

For me, fabric art is about color and texture. The mix of fabrics, stitching and beads is, in my mind, a perfect combination for personal art expression.

Related links:

Judith Baker Montano’s website

    • – Samples of her art, and info about her books & workshops. Also see her crazy quilting instructions from her appearance on HGTV’s Carol Duvall show:

At Home: Jewelry: Crazy Quilting.

Purple Fabric Art Jacket 1

ppljkt25I’ve always loved the color purple.  Almost every shade of purple delights me.

This is an original one-of-a-kind jacket that I created around 1992, using a Vogue designer jacket pattern. The fabrics are all 100% cottons.

On half of the front, I have hand-beaded with glass bugle and seed beads. I’ve also painted it with glitter paint.

pplbeads

On the other half of the jacket, front and back, I’ve made small dolls from crafts clothespins. Each doll is unique, and all of them are a little wild and off-balance.

ppldetail

This is a flashy jacket and — as of this writing — it’s a little 1980s in style.  However, dazzle keeps returning to fashion, so this jacket will be stylish again in the future.

Meanwhile, it’s a great and whimsical display item.

Easy Rolled Cloth Beads

Scraps of fabric can be used to create rolled beads. Here’s the simplest version.

You’ll need fabric, white glue and water, and something thin to wrap the beads around. This can be a thin dowel, toothpicks, shishkebab skewers, thin cocktail straws, or… Well, see what you have around the house. You could even use heavy gauge wire such as a coat hanger.

First, decide if you want to use fabric “as is,” or embellish it. It doesn’t have to be cotton, but cotton absorbs glue most easily.

cloth1

Dye, stain, paint, and embellish with color and perhaps glitter, if you like.

Then, cut or rip the fabric into thin strips. Remember that 100% cotton tears along straight lines. So, you can cut a small nick at the end, and then tear it from there.

Soak the fabric in a mixture of white glue and water. I’d guess that a 50/50 mix would work. This isn’t precise. You want it thick enough to stick together, but thin enough not to be gloppy.

Roll each bead around whatever you’re using at the center. The purpose of this is just to keep a hole in the middle. You’ll remove the dowel (or wire or toothpicks) when the glue is mostly dry.

(If you wait until the bead is completely dry, it may be permanently adhered to the center support. Removing the center early allows the middle dry faster.)

If you want to prevent the beads from sticking to the center support, coat the support with a non-stick lecithin kitchen spray. However, this can make it harder to roll the beads; the fabric will tend to slip as you’re rolling.

If the beads were saturated with the glue-and-water mix, the torn edges generally won’t unravel.

It’s best to roll the beads to the size that you want. After they’re made, if you want them shorter, it will be necessary to cut them to size with a saw, or the cutting blade on a rotary tool.

clothrolld1

An alternative–probably better and more colorful than rolling rectangles–is to cut the fabric into triangles.

Roll the beads so that the widest side is at the center, and the tip of the triangle is on the outside of the bead.