Purchases made through my links help support this website, at no additional cost to you. Details.
Plaster gauze can add exciting dimensions to your art shrines, mixed media art, or even your art journaling book covers.
The effects are completely unlike a “plaster cast.”
Here’s what a finished product can look like. (It started as a cardboard cigar box. Cigar stores often sell them at a good, low price.)
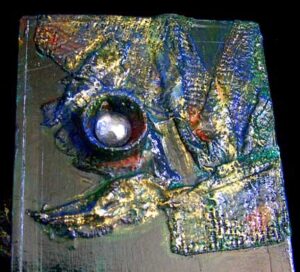
Art Shrines with Plaster Gauze (Part 1)
Supplies
To embellish your art shrines and other mixed media art, you’ll use plaster-embedded gauze.
Years ago, it’s what doctors used for casts on broken limbs. Vets still use it sometimes. You can buy it as an art supply, or from a medical supply house, or through your veterinarian. Some DIY home improvement stores sell it, too.
Amazon offers several brands, including CraftWrap.
You’ll also need the surface that you plan to embellish, a cup or bowl of water, and household scissors. You may also want to include optional surface embellishments. (Also see “Embellishments for mystery and dazzle.”)
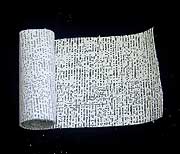
1. Open the package and unroll some of the gauze.
Usually plaster gauze is packaged in a plastic bag. That’s because it can be really dusty, and difficult to clean up.
Work over discarded newsprint, such as a newspaper or sheets of ads – “junk mail” – you receive by post.
That’s important. Otherwise, your worktable will be covered with a fine plaster powder.
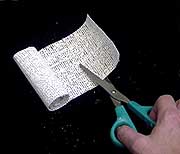
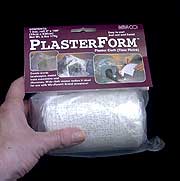
2. Cut with inexpensive household scissors.
Use inexpensive scissors to cut the gauze. (Shears of any kind from the dollar store – or pound store – will work fine.) The plaster will dull your scissor blades, and might ruin a good pair of scissors.

After working with the gauze, I usually cut through fine sandpaper to resharpen the scissor blades. That’s worked well.
3. Trim the gauze into irregular shapes.
This isn’t mandatory, but – from my experience – it helps… a lot.
My largest pieces are usually about two inches on the widest edge. My smallest pieces are about 3/4 inch on the narrowest edge. Start with at least six pieces when you are trying this technique.
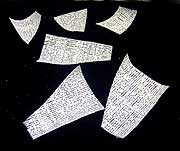
It helps to cut all of your pieces before getting your hands wet.
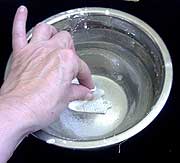
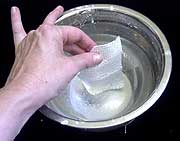 4. Dunk one piece of the gauze into a cup or bowl of water.
When you start your work, be sure to have a bowl of water close to the support (such as a cigar box shrine) you’re embellishing.
The water temperature does not matter, and you only need enough water to cover the gauze completely.
