My Edgar Allan Poe shrine was such a success, I scanned it and turned the art into a mini-poster. You can download it and print it.You can download a free print of this shrine. It’s in PDF format, designed to print at 150dpi on an 8 1/2″ x 11″ sheet of paper. (In the UK:…
Category: Collage & Mixed Media Art
Collage and mixed media art – examples and tutorials, including art journaling, torn paper collage, assemblages, art shrines, and more.
Asparagus Wand
The Asparagus Wand was created for Sukie’s “Fairy Wand Exchange,” in July 2001. I made four of them to add to the wands already being sent by my daughter, Applefaerie, and me. The Asparagus Wand is shown below. It started in Michael’s Arts & Crafts store, when my daughter and I were wandering the aisles…
Capolan exchange: Relic Room Assemblage
This is an Altoid tin shrine created for a 2000 Capolan exchange, and titled the Relic Room Assemblage. The outside of the box: Altoid tin, secured with an antique button, and hemp twine with beads. Preparing the Altoid tin: First, I hammered it to age it. Then I sprayed it with a cream-colored epoxy paint,…
Easy Embellished Vinyl Tote Bag
These are notes from my popular Artfest 2001 workshop about using images and word art to embellish purses and tote bags. Supply list Vinyl bag with at least one transparent side. Plain white paper as your collage support Collage elements – flat (or nearly flat) items and images Some kind of paper adhesive Clear laminating…
Collage Art and Assemblage – What’s the Difference?
Collage art and assemblages are just two of the most fun, varied art forms. Even beginners can achieve success with collage and assemblage. The biggest difference between them…? Collages tend to be flat. Or flat-ish. Assemblages can be three-dimensional, and can be small or really, really huge. a collaged card in the Inspiration Deck exchange…
How to Collage in Your Art Journals – 2008 Art Journaling Update
Collage is an easy way to add art to your diary or journal. For years, I started each day with a quick torn-paper collage, the same as I used to create my handwritten “morning pages,” taught in The Artist’s Way: A Spiritual Path to Higher Creativity Collages are a visual version of…
Journaling Your Past – Free eBook
You can write your own life story in just 15 minutes a day. Really. I’m probably best-known for my personal journaling workshops and online art journals. I want to share one of my favorite workshops with you in this free PDF about journaling your own history. Journaling Your Past is a free 26-page manual, and…
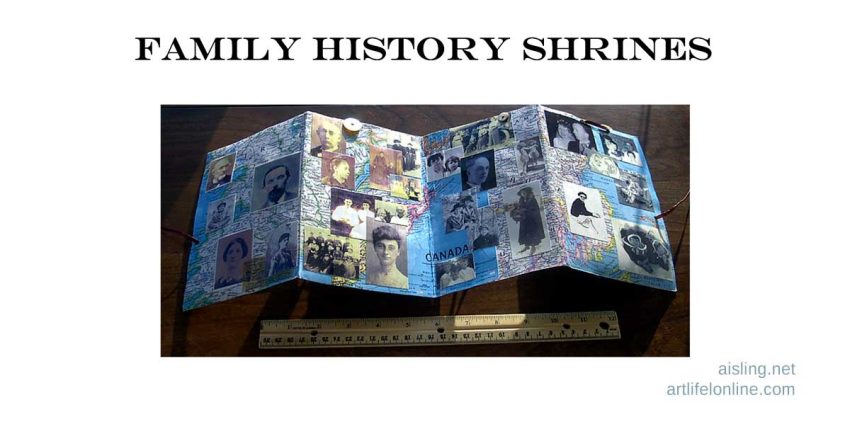
Family history shrines
You can make your own family history shrine or display using this free 14 page PDF. This illustrated ebook includes a supply list, plus step-by-step instructions. It also includes helpful tips for finding family photos, preparing them, and assembling your own family history shrine. In addition, you will find suggestions for teaching this as a…
Wax Paper and Artists Journals
Wax paper is always among my basic journaling supplies, and I use it any time I need to protect pages that include glue, water media, or anything sticky. When I travel, I pre-cut sheets of wax paper, and tuck them into the back of my journal. Usually, I use a rubber band or a binder…
Gesso – What It Is and How to Use It
Gesso can be a useful for art journaling as well as painting and mixed media art. I use gesso often when I’m creating heavily embellished pages in my art journals. (Usually, I use Liquitex gesso, or whatever comes from a reliable brand, isn’t too water-y, and is inexpensive. See my current recommendations at the foot…

